Here is a photograph looking South at the recent excavation adjacent to the house. This is the uphill, Western, side of the house. We used our old garden tiller to break up the hard soil and make it easier to shovel up the hill. I have done several projects with this excavation method. It is labor intensive though it does save money on equipment rentals. The other upside to this method is that the soil is not compacted by a large machine nor is it difficult to maneuver the small garden tiller into positions where a large excavator would not fit.
Here I have dug out some of the up hill area West of the house. The plan here is to create a concrete path to the back of the house ( North side). The path will be covered and the soil will be retained. The retaining wall will create a nice border for planting shade tolerant plants. The plant root structure will help mitigate water coming down the hill ( assisted by gravel in fill and a french drain) Placing concrete on the ground around the house will help with reducing pest problems inside the house as there will not be vegetation and soil directly proximal to the house to provide harborage.
Here is another shot looking at the excavation. On another note: the roof covering over the concrete path will be approximately four feet. This covering will allow us to forgo guttering the upper roof as the lower roof will catch all of the rain off of the upper one. The best long term reward here is in regard to accessibility. The upper roof is difficult to access relative to the lower roof. Being tucked into the woods means there will be a decent amount of leaf and needle litter that will deposit into gutters. Gutter cleaning will be imperative. The lower guttering will allow easier and safer access to the gutters. The pollen dropped off the pine trees make the upper roof slippery to work on in addition to their elevation. Ultimately, I would rather avoid the upper roof and so the lower roof and guttering create a little work for today and less for tomorrow.
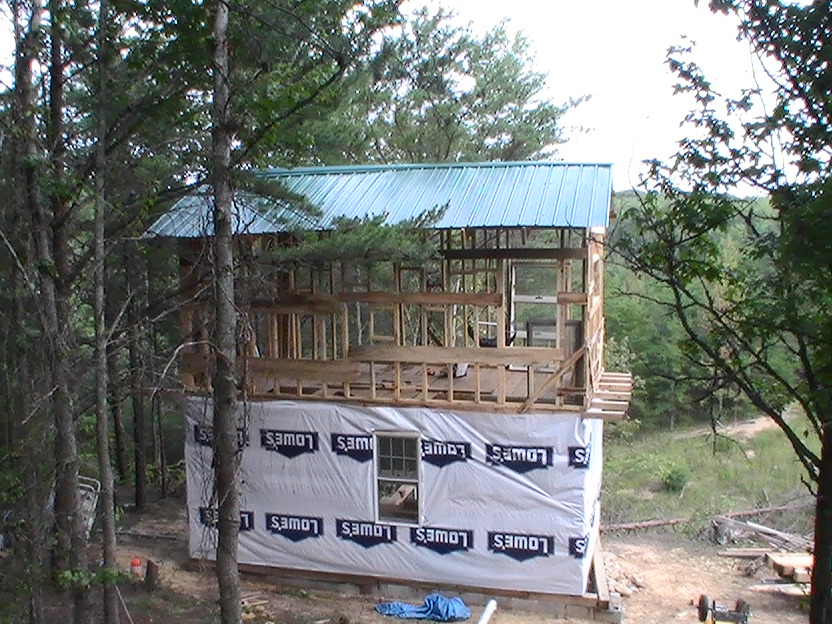
The house is wrapped! We are almost completely dried in. I have a door to frame up and then we are golden.
Showing posts with label metal roofing. Show all posts
Monday, October 1, 2012
Monday, September 17, 2012
roof: ON
The roof is on. All but the final two panels where painstakingly put in place with a hammer and ratchet. Though we have a generator it would serve better as a massive paper weight or anchor. Thus, we put the panels in by hand. Tap, Tap, crank. I tried feverishly not to fall off the roof as I aimed to hit the purlins. Only once did I actually have a place picked out on the ground where I thought I was going to land.
While the roof may not be perfect, it will not leak. It is going to be well insulated and it blends well with the surrounding forrest. Oh, and I did not die or break a bone while building it. All in all I consider it a successful roofing experience.
Labels:
400 square foot house,
metal roofing,
roofing,
woodland home
Sunday, September 16, 2012
Roof work
Looking up throughout the "vent" where the chimney will go you can see the roof is coming nicely. We used radiant bubble insulation under the metal roof. The bubble insulation is placed under the purlins so as to create an air space that allows the radiant barrier to do its job. We did not place insulation under the overhang outside the house as we did not feel it was essential to protect the air below the roof.
The bubble insulation is rated to R-11. Considering that most 2x4 walls are filled with R-13, I feel R-11 is a great value for such a thin layer of insulation. We do still plan to put standard insulation in-between the roof trusses. The standard insulation will be rated R-30. This will bring our combined roof insulation to R-41 plus the radiant barrier that reflects heat. All together it should be a well insulated roof, keeping out heat in the Summer and keeping in heat in the Winter.
Tuesday, September 11, 2012
second floor update
The second floor is almost done. We have to a few windows to install and the stud work to support said windows. The roof is coming along nicely. We have all of the roof trusses up as of this past weekend. The pictures hearer show all but two trusses up. The photos also show the house before the North wall was built. More photos are to come. I often get distracted with building and forget to stop and take photos of the progress. We are using metal roofing and a radiant barrier on the roof. We nailed wide purlins in place to stabilize the trusses before placing the radiant barrier down. Once the radiant insulation was in place we nailed purlins on top of our wide purlins. These top purlins will allow us to screw the metal down while still maintaining an air space between the radiant insulation and the metal roof. This air gap is important in order for the radiant barrier to work properly, according to my reading.
The main floor is wrapped in tyvek. The windows are in and it is starting to feel like a real house. My next post will have the first photos of inside.
Subscribe to:
Posts (Atom)